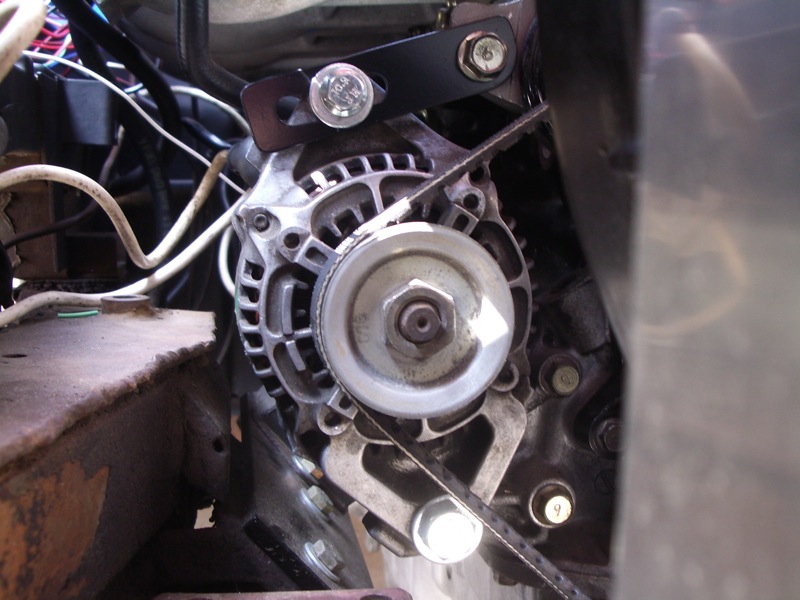
The alternator is one of the most important parts of a vehicle, the primary function of which is to charge a car’s battery. Likewise, it also powers the electric system of a vehicle while the engine is running. Compared to a DC generator, it is more rugged, less costly and lighter. For those who own vehicles, it is very helpful to learn how to maintain a car alternator.
Materials Needed
In case you want to maintain the excellent condition of your car, it is highly important to keep its car alternator properly maintained. For this moderate task, you need to have a couple of materials available, one of which is the ohmmeter to measure electrical resistance. Furthermore, you must also have a DTAC testing system, the purpose of which is to determine if the alternator is responsible for the charging problem in the electrical system of the car.
Steps
Get the DTAC testing system and then check if the alternator if indeed causing a problem in the charging process of the electrical system of the car. Before this, remove the battery connections first. Wipe the terminals clean and then reconnect the negative wire as well as the positive wire to their appropriate terminals. Once they are properly connected, you can now use the DTAC testing system to check the efficiency of the alternator.
Next, use the testing system to determine whether the relay fuses are damaged. In case they are already busted, try to substitute them with new relay fuses, preferably those recommended by the car manufacturer. Remove the connections of the alternator to determine if the internal components are complete and are working properly. Take the drive end off the rotor but leave the stator in place. Remove the cover and then take the baffle out. Likewise, remove the regulator, the rectifier bridge and the brush holder.
Get the ohmmeter and then check the rectifier if it is still working. From the heat sink, connect the wires to the bridge terminals, after which reverse the wiring. In case the reading of the ohmmeter is the same for both situations, it is time to change the rectifier with a new one. Use a soft dry cloth to clean the internal components including the brush. After doing these steps, you can now reassemble it. On the end frame, do not forget to apply significant amount of grease in order prevent overheating, specifically beneath the rectifier bridge.
Additional Tips and Other Helpful Details
When removing the alternator, it is important to mark the different parts for easier reinstallation. Likewise, remember its position inside the car so that you can easily return it in the right place as well as its various connections.


