A new ceiling fan can easily go well with a newly constructed house. Likewise, it can also serve as a very good replacement for that old fan hanging on the ceiling. However, to have it installed by somebody else, especially by a professional, can be quite expensive. In fact, either a man or a woman can do this moderately challenging task free of charge. With all the right tools available, things are much easier by learning how to install a new ceiling fan.
Materials Needed
To be able to perform this task, you need to have a brand new ceiling fan, a screwdriver and a ladder. Aside from these, you must also bring in the remote control or switch, the metal junction box and the manual for installing its different parts.
Steps
Before installing the ceiling fan, you need to shut the power off first inside the house. Do this by turning off the circuit breaker. Slowly remove the old fixture piece by piece. Take out the new fan from the box. Be sure to check if all the major components and other parts are complete.
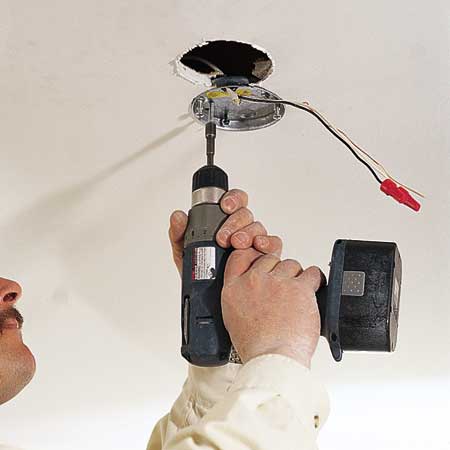
Create a hole in the ceiling that is big enough to fit the new junction box. In case there is one, take it out and replace it with a new one. Screw the new box to the beam or joist. If there is no place to attach the junction box, you may add a header first. After that, install the bracket. This will keep the fan connected to the junction box.
Cover the hole you have created earlier so that no one can see it with the junction box already fixed tightly in place. If the fan comes with a larger cover, there is really no need to patch up the hole as this is enough to cover it up.
Follow the instructions enumerated in the manual. Attach the blades and then secure them in place. Likewise, connect the appropriate wirings as stated in the directions. Be sure to follow them carefully to ensure your safety. Search for the ground wires and then connect them to the right places. They usually appear as bare copper or as green-covered wires. Hang the fan and then screw it firmly in place. After that, install the switch. Check if the remote control is working fine.
Additional Tips and Other Helpful Information
In case the fan wobbles when switched on, this is indicative of unbalanced blades. Fix this by switching a couple of adjacent blades. You can add putty to lighter blades to equalize their weight. Proper airflow can be assured by allotting a space of about 12 to 18 inches between the blades and the ceiling. Injuries and accidents can be prevented by following all the right instructions as stated in the owner’s manual.


