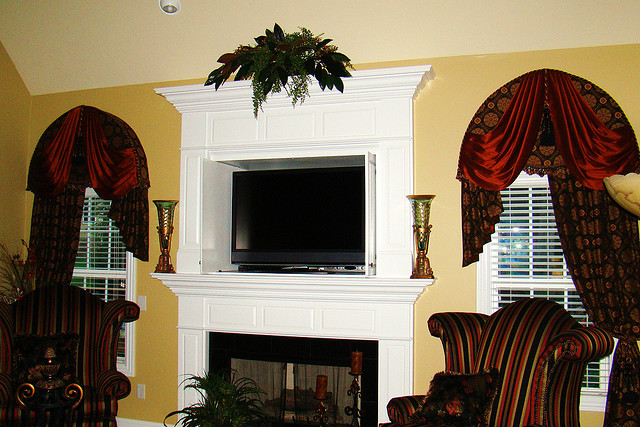
It is fairly easy to make cornice boards. You only need a few hours and the following tools to finish the project.
Required Tools and Materials
Wood glue
Electric sander (optional)
Medium grit sandpaper
Pencil or fine point marker
Tape measure
Nails
Hammer
Jig saw
Carpenter’s square
Straight edge
Plywood
Use the tape measure to determine the height, depth and width of the window. Take the measurement from outside casing to outside casing. Put in an extra inch for the wood thickness.
Step 2
Get the straight edge and the carpenter’s square. Create a rectangle on the wood based on the window dimensions. Include the extra inch for the face board. The sides and top should match the window depth.
Step 3
Cut the wood with the jig saw. Cut the sides, top and face.
Step 4
The next step to make cornice boards is to sand it. To give it a smooth look, use the medium grit sandpaper. Keep sanding until you get the smoothness desired.
Step 5
Now you have to make space. Set the face board and the top piece of the cornice board so there is ¾ inch of space between them. You can get this space by using the straight edge. Mark the spot ¾ off the edge. At the side pieces, note the line an inch off the edge.
Step 6
Apply glue on the outlines you just made. Connect the top piece of the frame onto the side parts. Fasten them into place with the nails.
Step 7
Step 7 involves connecting the facing. Conceal the edges of the sides and top using the glue. Set the face board on the frame’s top.
Step 8
Make adjustments to the edges and corners until they match perfectly. To attach the face on the frame’s top, set the straight edge by the recessed part. This will ascertain there is an exact ¾ inch allowance. Nail this.
Step 9
Allow the glue time to dry. When the cornice board has dried up, you can stain or paint the frame. You can apply wallpaper borders on it. You can also upholster it.The choice is a matter of individual preference.
Tips and Warnings
If you are going to stain or paint, it is best to use an electric sander. This will smooth the sides and face.
As these instructions show, you don’t have to be an expert builder to make cornice boards. You just need to have the right tools and the dedication to see the projects through.


