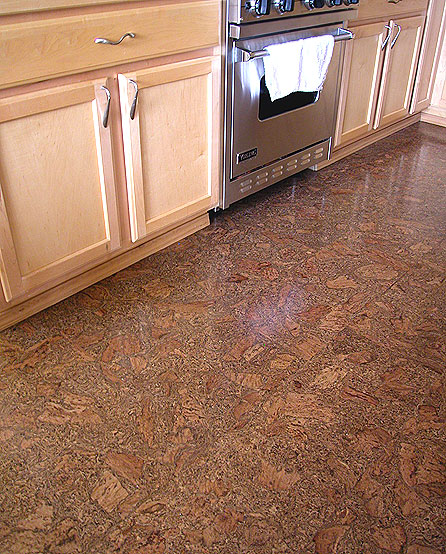
A cork flooring installation is an environment friendly option for home makers. It’s also a traditional piece of hardwood that has been used for centuries. Other than that, it’s just simply great to walk on when you’re the type that loves to walk around bare foot at home. It’s quite an attractive dimension to your home and can work well with many types of décor.
Required Items
Here are the things you need for a cork flooring installation. First of all you’re going to need both your cork flooring and the underlay that goes along with it. You’re also going to need a dust mask, measuring tape, and a pencil. Other carpentry tools you should get include a saw, and a hammer. You should also prepare a tapping block.
Cork Flooring Installation
The first step in cork flooring installation is to take the measurements of your room’s floor. Calculate the floor area and write down in square feet. It part of best practice to add some ten percent to your calculations when figuring out just how much cork flooring you will eventually use for this sort of project.
After you’ve got your measurements down you should clear the area of the floor you’ll be working on. This simply means that you have to take out and move every piece of furniture you have in the section of the house where you’ll install cork flooring. If ever you find any loose floorboards this is the time to get them fixed and filled if necessary.
Make sure that before you do all this tough work that you have ordered your cork flooring a few days in advance. When the cork flooring is delivered make sure to take them out of their packaging or box to get it to adapt to the your home.
The next step to cork flooring installation is to install the underlay. When you lay them down never overlap one strip with another. Once you’re done with the underlay, determine just how wide will the last row of cork flooring should be in your room. You might as well have to check your measurements a second time to be sure.
The last row of cork flooring should almost always be cut lengthwise. After double checking your measurements, it’s time to commence with the cork flooring installation. Begin by installing the tongue side of the flooring toward your wall. To be sure, the side with the grooves should be facing the room and not the wall.
Lay your flooring from left to right but leave some space between the flooring and the wall. About 3/8 inches of a distance will work just fine. Slide the tongues into the grooves all the way to the end. Pieces should snap into place as you push them down. The final board should be cut according to the measurements you made earlier.
Continue with the cork flooring installation row by row until you have all the space covered. Be sure to install strips of transition whenever you work around any doorways. Finally, install your moldings and your baseboards.


