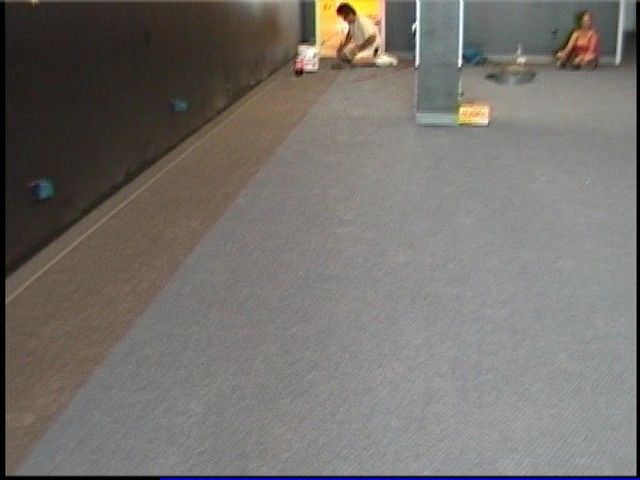
Carpet installation is definitely hard work, especially when one is working with a particularly immense room and large pieces of carpeting to lay down on it. But anyone can learn how to install carpet, and armed with the right know-how, the proper tools, and a considerable amount of patience and perseverance, one can get the hang of the arduous task of wall-to-wall carpeting.
The materials that will be needed to install carpeting are as follows: work gloves and safety glasses for protection, tackless strips, a stapler, a hammer, measuring tape, a chalk line, a carpet or utility knife, a seam cutter, seaming tape, a seam iron, a knee kicker, an edge trimmer, a power stretcher, and a stair tool. To begin, make sure that the room’s floor is clean and any object that might cause a lump in the new carpeting is cleared away. It is advisable that the doors are taken off so that the carpet can be easily moved into the room.
The tackless strips are then installed around the room’s perimeter, excluding the front of the doorways, half an inch away from the wall. The strips should convene at the corners, while the tacks point to the direction of the wall. The carpet underlay is installed in strips and stapled in position. The underlay’s edges are then struck together, but should not be overlapped. The surplus underpad alongside the tackless strips’ inside edge is trimmed off in order to expose the tacks.
Take the room’s measurement at its lengthiest point. In a suitable working space, outside the room or perhaps on the floor of a garage, layout the carpet and mark the measurement of the room (with at least 4” added to it) on the carpet’s back on both of its edges. The 2 marks are joined using the chalk line, after which the carpet is cut to length from its backside using either a carpet knife or a utility knife. The carpet is then brought into the room, rolled out, and dry-fitted.
If there is more space in the room that requires additional carpeting, repeat the procedure of measuring, laying-out, marking and trimming. Place the carpet in the room, overlapping the previous carpet by approximately 2”. Make sure that the carpet’s grain runs in the same manner. To guarantee that the edges align, cut through the 2 pieces of carpeting simultaneously using the seam cutter. Then, center a piece of the seaming tape beneath the 2 carpet pieces, with the tape’s adhesive side facing up. Heated to temperature, the seam iron is slowly run along the length of the seam, melting the adhesive and joining the edges. Weigh down the seam while the adhesive is drying.
The carpet is attached onto the tackless strips by positioning the knee kicker around 3” away from the wall, and forcing one’s knee into its padded end so that the carpet stretches on top of the tackless strip which will grab it and keep it in position. The carpet is trimmed at the wall using the edge trimmer and then attached to the tackless strips on the other side of the room through the use of the power stretcher. Excess is trimmed off, and the carpet is then tucked under the uncovered baseboard with the stair tool. The carpet by the doorway should also be trimmed, a door edge should be installed, vent openings must be cut, and shoe molding has to be installed at the baseboard.


