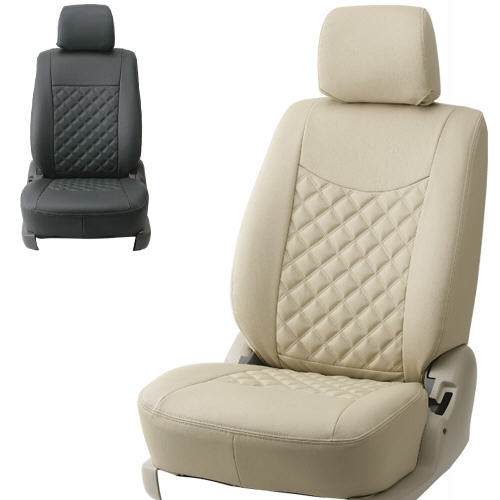
If you aren’t satisfied with the existing design, consider making car seat covers. Get the following supplies so you can start creating your own car seat covers.
Sewing Car Seat Covers
Required Tools and Materials
Scissors
Measuring tape
Sewing machine
Fabric
Straight pins
Step 1
Use the tape measure and determine the size of the car seat. Make sure the measurements are precise. Allocate an additional 1.5 inches when you sew.
Step 2
Decide on the fabric you want to use. Cut the pieces to the desired length. Double check the measurements when you cut.
Step 3
Flip the material inside out. Combine the pieces using the straight pins. When making car seat covers this way, the pins will keep the fabric steady as it’s going through the sewing apparatus. Again, make sure the material is inside out; this ensures the seams won’t be visible.
Step 4
Run the fabric through the sewing machine. Hold the fabric with one hand and proceed slowly. Connect the bottom to the top section. If you’re making a 1 piece cover, make a new seam. If not, slice some holes; these will be for the seat belts. Now hem a rope at the seat’s bottom. Fasten it tight.
How to Create Infant Car Seat Covers
By making car seat covers for infants you’ll be able to keep the baby warm during cold days. An infant car seat is also less of a hassle than using winter bundling.
Required Tools and Materials
One yard of polar fleece
Sewing machine
1 ½ yards of elastic (1” wide)
Thread
Tape measure
Scissors
Step 1
Start by measuring the car seat dimensions (length and width). Extend the measurement by a couple of inches to the seat edges. You might also want to add another two inches to make fitting simpler.
Step 2
Slice the fleece into a rectangle. Use the measurements you obtained earlier. Slice a circle about 8” in diameter. This will be for the baby’s face, so make it larger or smaller as needed.
Step 3
Continue making car seat covers for infants by pinning the fleece at the top of the circle. This should be nine inches from the cover top. When setting the circle, it should be width wise.
Step 4
Stitch at the circle’s edge. Score the insides of the circle and cover ¼” from the stitching. Put the raw edges under the cover. Stitch along the hole.
Step 5
Sew 1 ½” along the cover’s edge. Make a 1” hole and put the elastic there. Run the elastic along the casing. Adjust the elastic so that it will cover the seat. Sew the ends. Finally, you should sew the opening.
Tips and Warnings
Sewing machines are set up differently, so follow the instructions as they are stated in the package. Always double check your measurements before making cuts.
As long as you know how to sew, making car seat covers will be easy. So get your design materials ready and start customizing your car.


