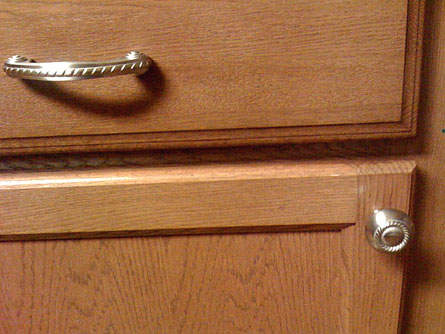
To be able to build a kitchen cabinet, only basic knowledge of carpentry tools is needed. You’ll also need plenty of space to work in, so clear up the workspace.
Required Tools and Materials
Measuring tape
Clamps
Kitchen layout
Wood screws
Pine wood
Wood glue
Sandpaper
Screwdriver
Saw
Cabinet hardware
Power drill
Dowels
Kitchen cabinet sketch design
Step 1
Make a sketch of the cabinet. Note down the dimensions, the number of drawers, style etc. You’ll be using this as your guide throughout the construction process, so make it detailed. There are also kitchen planners available in shops and online.
Step 2
Once you get the dimensions, it’s time to get the lumber and supplies needed to build a kitchen cabinet. If you’re making several cabinets, multiply the figures you get from the one cabinet you drew up.
Step 3
Start by making the cabinet box (or carcass). As you cut the wood, reduce the dimensions of the sides by the board thickness. This should be done for the top and bottom. Now cut the back board. The length and width needs to be a couple of inches shorter than the wood is thick. This will allow you to fit the pieces in the frame.
Step 4
Put glue on the edges of the top and side. Drill holes and fasten the top on the sides. Note: pre-drilling the holes is recommended so the wood doesn’t crack up. Turn the structure over. Secure the bottom section using the same method. Make sure you glue the edges as you build a kitchen cabinet.
Step 5
The faceplate’s height needs to be the same as the cabinet. The width is up to you. The board for the faceplate length should be equal to the cabinet. The width should be a bit less than the side boards.
Step 6
Align the faceplate to make certain they fit. Mark it for the dowel holes. Make a couple of holes at the ends. This should be a match for the holes in the interior. Add some glue in the holes. Put the dowel in. Clamp the parts so they end up forming a square.
Step 7
Proceed to build a kitchen cabinet by gluing the faceplate to the cabinet box. Drill holes and fasten it with finishing nails. Next, slice the door so it is 3/8” wider than the faceplate’s opening.
Step 8
You can finish the cabinet up by staining or using polyurethane finish. Put in the hinges. Put some wood putty on so the holes are covered. Add the putty after you stain but not before the varnish. Now you can add any other hardware that comes with your door.
Tips and Warnings
Consider putting tape on the drill half the dowel’s length. This will help you determine when to stop. Wear safety goggles when cutting lumber. Keep your sketches nearby so you don’t make mistakes in the design.
After you build a kitchen cabinet, go over it. If everything’s okay, you can use it as a template for other kitchen cabinets you want to make.


