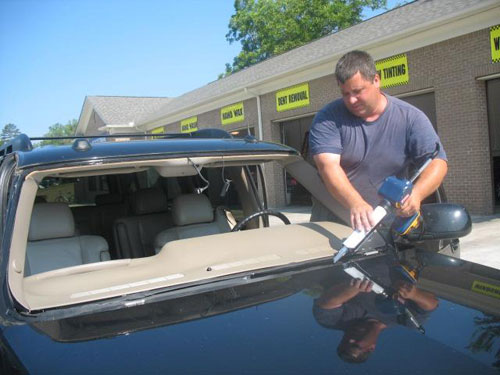
The windshield is found right in front of vehicles like cars, vans and buses. Because of its position, it can easily be hit by various kinds of elements such as wayward rocks. Once damaged, this part can be quite expensive to fix, especially when availing the services of professionals. If you wish to solve this kind of problem while at the same time save money, you can try to learn more about car windshield repair.
Materials Needed
Repairing a car windshield is easier if you have all the materials to get the job done. You only need three basic items to accomplish this easy task, namely a glass cleaner, a repair kit for the windshield and lint-free cloth.
Steps
Just like repairing other things, a windshield must be cleaned first before fixing the problem. The reason for this is that certain elements can significantly affect how resins work. In fact, dust and dirt can affect the bonding properties of resins. This will make it harder for the windshield to fix.
Find a rag and then put it below the area to be fixed. Spread the rag until it is impossible for any broken glass or resin to fall into the other parts of the car. While the resin can stick and affect the appearance of the pain of your car, a broken part of the windshield can cause scratches. Get the adhesive disc from your repair kit. Peel off its back part and then apply it directly into the broken part of the windshield.
Inside the repair kit, look for the pedestal. You will need it to apply the resin right onto the broken part of the windshield. Go back to the disc and then remove the other backing on the opposite side of the disc. This must be in line with the pedestal and the hole. The resin syringe must be uncapped, with the nozzle to be placed directly to the pedestal. Pull the plunger of the syringe and the push it to apply the resin into damaged part of the glass. Repeat this step for at least 10 times or until the crack is full of resin.
You have to end this job by allowing the resin to dry under direct sunlight for more or less 30 minutes. Once the resin is dry, you can now remove the apparatus from the windshield.
Additional Tips and Other Helpful Information
Never forget to pull the plunger upwards before pushing it down. The air in the crack must be removed first before you push the resin in. This can help the resin work properly. Extreme caution is necessary when handling the damaged windshield. Applying too much pressure on it can actually cause more damage than solving it.


