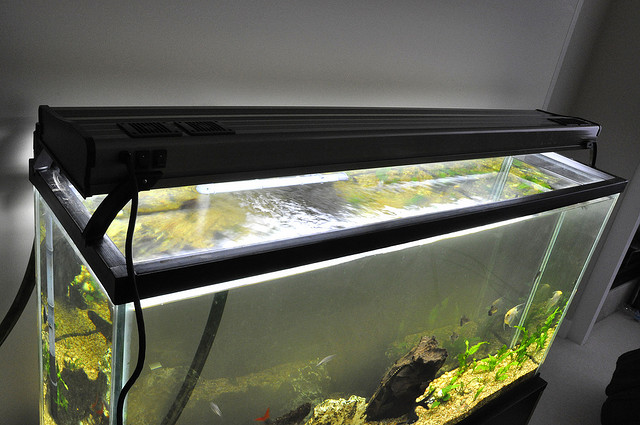
While one can always buy a ready-made fish tank, there are advantages to knowing how to build one personally. One may be able to build a fish tank according to their own specifications, at a size suitable to the particular area it would be placed at, and large enough to accommodate as many fish as one chooses to keep in it.
The first step in building a fish tank is to work out what its size is going to be. This is an important factor to consider because the breadth and dimensions of the glass panels to be used in assembling the tank will depend on the proportions that one decides the tank should have. There are also financial considerations involved, as too thick a glass pane might be too costly. Of course, while a thinner pane of glass might be cheaper, there is the risk of it being too weak and easy to crack.
If one has settled on a size for the fish tank, refer to a glasscutter and order the glass panes needed based on the prospective measurements. One will require 5 panes in all to build the tank. Specifically, one glass pane will serve as the bottom part of the tank, or its base, 2 panes having the same size will be used for the front and rear, and 2 more equally-sized panes will make up the tank’s left and right sides.
Since the glass panels will be joined by their edges, make certain that the panes’ edges are suitably flat and smooth. Use sandpaper to smoothen up the edges, and then apply acetone with a paper towel to clean them up. To get organized, use a washable felt-tip marker to label the 5 panels appropriately, marking the respective panes to be used for the base, front, back, left and right sides of the fish tank. Also mark the sides of the panes which will be the interior and the exterior of the tank.
Attach a duct tape strip measuring 4” to 6” long on each of the 4 corners below the glass pane serving as the fish tank’s bottom. Let half of each duct tape strip stick out. Then, verify the edge of the base which will be the front of the tank and apply a bead of non-toxic silicone sealant on that edge’s entire length. Next, press into the bead of sealant the pane to be used as the tank’s front wall. Make sure that the front panel and the base have an angle of 90 degrees. Use the duct tape strips previously attached in that area in securing the 2 panels.
Lay a bead of the silicone sealant on the bottom panel edge onto which the right side panel will be put up, and run another bead down the front panel edge that would meet the right panel edge. Press the right panel securely onto the sealant, and again use the duct tape in that area to brace the panels. Install the back and left panels using the same procedure.
After the panels have all been set up, run another bead of the silicone sealant on the places in the fish tank’s interior wherein the corners converge. Wait a period of 24 hours for the sealant to dry, after which the tank is filled up with water and examined for leaks for 12 to 24 hours. If any leaking does occur, apply silicone sealant to repair it.


