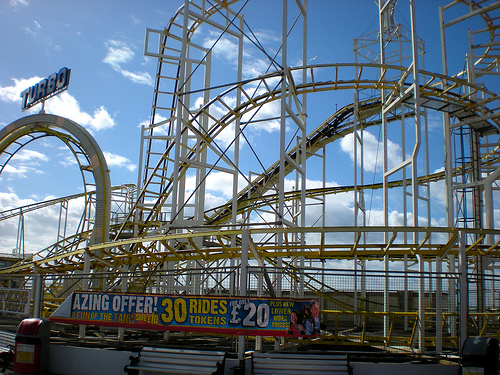
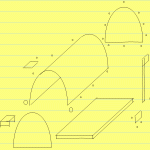
To understand how to build a roller coaster is to learn how to make it into a fun project by building a miniature size of it that you can easily do in the comforts of your home. However, you may need to choose your work space especially if there are children at home who may run around or distract you while you’re at work.
So what is needed for this miniature project of learning how to build a roller coaster at home?
First: Get Your Materials
To make your own miniature model, you need the required tools. So, go to your supplies shop and get paint, track, toy cars, nails, driller, glue, base, and some building materials like wood, plastic or metal.
Second: Use Some Images for Your Reference
You have to keep in mind that there are various coasters. So, get a picture in your mind first about what you want. To help you do this, you may need to get various photos and examine them closely one by one.
It would be wise to improvise before you start construction of the material. To do so while engaged in the project may not be a good idea. For one, it may only lead to more mistakes and make you start all over again. You would not want the headaches that would cause.
While you ponder on what design you prefer, also think about the overall size of your project. So you can already purchase additional materials that may be appropriate. Typically, the most popular material for this type of project would be wood. But it may also depend on how sturdy you would like your project to appear and how you want to achieve its overall look.
Third: Work and Build the Base
When you’re ready to start, go ahead and measure the base of your project. Cut and measure if you have to. Don’t worry about the shape. You can choose any shape you want it to appear. Just be sure that it supports the whole structure. Use the driller and drill holes as openings in the base. These would be used to connect the other parts.
After you’re done, you may paint the base to your desire. Besides, it would be difficult to do the paint job when you have already attached the coaster. Wait for it to dry before you proceed with the next steps.
Fourth: Make the Tracks
The trick is to start from the bottom going to the top when making the tracks. Get the long and straight parts and stick it with some glue to the foundation. Check if it has a firm hold. The curve or hill as some may call it would be then come next.
There are few pointers for this part. Remember that it would be best to make the exit low when you connect the first curve or hill. The next curve should be higher than the first. Then, you can safely add loops that may be circular in type or elliptical.
Do have a model or a photo with you as you like your project to look as you go along. Have fun as you work.
For safety purposes, you may wear a face mask to prevent inhalation of certain toxins when you paint.
You can add cars and scenery if you like to make it look like the real thing. Some grass, dolls, house, and even other coasters around your project would make it look great, too. When you’re done, you will see how much engaging the whole process is in learning how to build a roller coaster.


