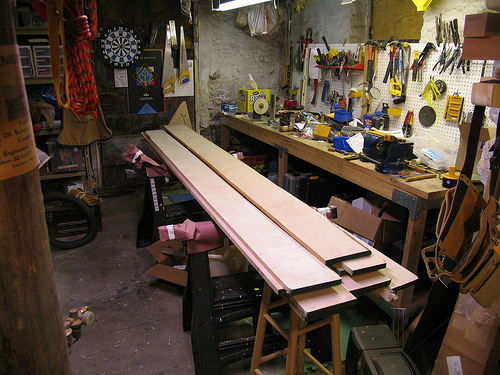
You can buy a workbench in many stores, but it is easy enough to make one yourself. You can use any type of wood to build a workbench, but treated wood will produce the best results.
Required Tools and Materials
9 1 x 6 inch boards, 26 inches long
Drill
Nails
2 x 2 inch boards, 64 inches long
5 2 x 6 inch boards
Safety glasses
Power saw
Bolts with washers and nuts
Clamps
14 2 x 4s (4 at 32 inches, 4 at 24 inches, 5 at 22 inches, 2 at 36 inches and 1 at 6 ft)
Make a rectangle. Join two 60 inch 2 by 4 inch boards to 2 x 4s 2 in long. Get a clamp and grab the 32 inch 2 x 4s. These are the workbench legs. Set them in the interior of the frame. Set the legs on the frame board (the longest part). Square it with the shortest one. Secure them with nuts, bolts and washers.
Step 2
Flip the workbench over. Gauge eight inches on the legs from the ground. Fasten the 2 x 4s with the clamps. These make up the top workspace and the bottom shelf.
Step 3
Get the 22 in 2 x 4 and slice the middle support beam. Put it in the middle of the rectangle frame. Slice a back support using the 6 in 2 x 4. Connect this with the screws.
Step 4
Cut some mere side supports by the diagonal. Use 36 in 2 x 4s.
Step 5
Continue to build a workbench with the five 2 x 6 boards. Set them with their sides facing down. Make a couple of supports using the 64 in 2 x 2 boards.
Put these a couple of inches from the board edges. Keep them in place with the nails. Turn it up and make the countersink openings. Put the bolts in place.
Step 6
Bolt the upper bench support pieces on the workbench frame sides. Nail nine 26 in 1 x 6 boards on the workbench sides.
Step 7
The workbench is finished. You can now paint the structure. You can also stain and varnish it if you like. Give the bench enough time to dry.
There are other techniques you can use to build a workbench. However, this method is much simpler than the others. You just need to be certain about the measurements of the wood boards. Use larger boards if you are making a bigger bench.


