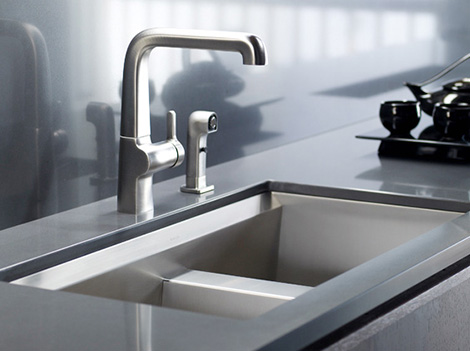
A stainless steel sink is a stylish and trendy home décor that can easily match the house. Likewise, it is also guaranteed to match the modern design of home appliances, most of which feature classy steel appearance such as refrigerators and microwave ovens. If you wish to have a very nice-looking sink at home without spending too much, it is good to know how to install a stainless steel sink.
Materials Needed
Prepare a drain, a faucet and a new stainless steel sink. Likewise, prepare a caulk gun, a hole saw and a jigsaw for the purpose of cutting. Additionally, be sure to have a drill, a silicon caulk and garbage disposal flange while working on this moderately challenging task.
Steps
Before working on this moderately challenging project, you must be familiar with basic skills in plumbing. In case you do not know anything about it, try to seek help and guidance from a professional plumber in terms of water connections before you install the sink. Next thing to do is to determine the type of installation you like, whether it is a top mount or an under mount.
The advantage of an under mount sink is that nothing is caught at the lip when wiping liquids and debris off the top. On the other hand, the main advantage of a top mount is that there is no need for a special installation, which is perfect for customized tile countertops. The top mount style is appropriate for stainless steel sinks.
Put the finished countertop in place. After that, set the sink template. Manufacturers usually provide a pre-printed template. If there is none, cut the cardboard panel at the bottom or on top of the box of the sink. Put it on top of the countertop. On top of it, lay the sink in an upside down position and then get the pencil to trace its outline.
Get the jigsaw and then use it to cut the hole for the sink based on the template you have made earlier. Put the necessary connections including the faucets. Right after making all the necessary water connections, install the drain as well as the garbage disposal flange. Put the sink in place and then screw it tightly in place. At the rim below the sink, apply silicone caulk throughout the edges. Use a rag to remove excess caulk. Turn on the main water line and then check if the newly installed sink is functioning properly.
Additional Tips and Other Helpful Information
When performing this task, do not forget the backsplash. Do this by leaving enough distance between the rear wall and the sink. Measure the sink twice in order to prevent mistakes, which can actually make the task even longer than expected.


