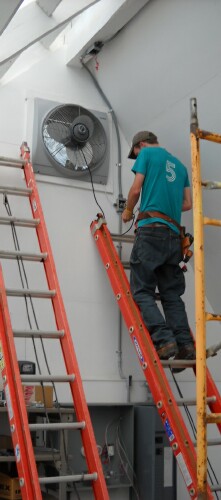
Exhaust fans are useful in the bathroom and in the kitchen. They are used to get rid of any unseemly smells and odors. They’re also effective when you want to bellow any steam out of the bathroom after someone has taken a shower. It also works quite well if you want to expel smoke and hot air that has accumulated in the kitchen. We’ll go over how to install an exhaust fan either for your kitchen or bathroom.
Required Items
You’ll need the following items in order to install an exhaust fan: reciprocal saw, wood screws, screw drivers, 2 x 4 pieces of wood, vent cover, metal conduit, and a crank timer.
Steps to Install an Exhaust Fan
It is best to install your fan during daytime. The first step to install an exhaust fan is to find a location suitable to mount it on. Exhaust fans are generally installed in the ceiling. Ideally, you should look for a ceiling joist using a stud finder. Once you have located a spot in your ceiling where you can install your exhaust fan you should mark out the area to be covered by the fan’s dimensions.
When marking out the location for your installation, remember that not all exhaust fans have the same measurements. Add to that the fact that not every exhaust fan will have an exactly square shape. So that you can be sure you’ve got the exact measurements place the fan’s fastening side on the joist at the ceiling.
The next step to install an exhaust fan is to saw off the area where you will install the fan. Once you’re done cutting out the required section off the ceiling grab your drill and drill holes both for the wiring and the timing. Make a frame using the 2 x 4-sized wood, which also allows you to use your ceiling’s trusses for the frame.
Next, you should turn off the power in the section of the house you are working on. If you don’t know exactly how to do that then you should just turn off all the power in the house at the main switch. Figure out what wire size you’re going to use via the number you’ll find on your circuit breaker.
Fish wire all the way down to the switch box through the top plate. Add a double switch for your exhaust fan. You may have to replace the existing switch box to accommodate the switch for your fan and rewire whatever configurations are installed. Next, wire your exhaust fan to the previously installed wire while the flex pipe is hooked on.
Now that the exhaust fan is wired you can slide it through the hole in the ceiling. Attach it using screws and from the attic insert the exhaust pipe to the vent. Call an electrician if you are unfamiliar with the wiring on the wall and switch boxes.


