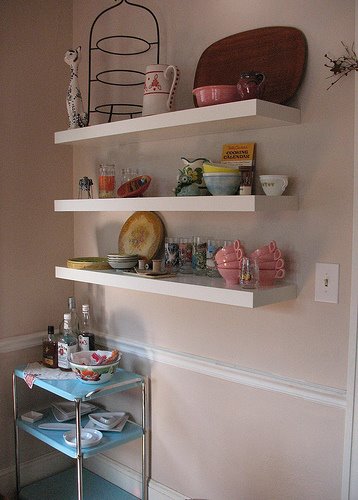
Floating shelves are stylish and are fast becoming quite popular. They’re called floating wall shelves since they appear to be floating on your wall. They are designed to hide brackets that a lot of people see as a bit unsightly. That is if you really want to decorate your home real well. Installing floating shelves are easy enough with a little effort required to put them up.
Required Materials/Equipment
The basic tools and equipment you’ll need to put up floating wall shelves include some of the most basic tools. You’ll need a drill, a spirit level, a retractable measuring tape, and a pipe and wire detector. Of course, you won’t do without a hammer, screwdrivers, and fittings or screws. You might need plasterboard anchors or Rawplugs in case you might need to repair damaged concrete or plasterboard.
Installing Floating Wall Shelves
Here are the fairly easy steps in order to put up your floating wall shelves. The first step is to figure out and decide how many of these floating shelves you want to install. Next you also have to make up your mind regarding how high you want them on your wall.
The lowest shelf you can ever get will only go down as low as 90 centimeters from the surface of your floor. The clearance between one shelf to another should be at 30 centimeters. The concern there is the amount of space and clearance you should prepare in case you want to store books.
The next step to put up your floating wall shelves is to check for any cables or pipes hidden inside the walls. Use the electronic detector to check inspect the wall where you want your floating shelf. You will have to move to a different location if there are wires in the wall.
The next step is to place the first bracket using the spirit level and mark the positions for the holes. After making your pencil marks grab your drill and start drilling the appropriate sized holes on your wall. Some floating wall shelves will come with their own screws while others do not so you better check the package you buy before leaving the store. Screw the bracket into position using fittings or screws.
Slide the shelf on and use a spirit level to check if you have a level shelf surface. Once you’re sure that it’s positioned just right then dismount the shelf and install the rest of the brackets as well. Some packages will require up to five screws or fittings to hold one shelf.
Once all the brackets are in their proper positions then you can slide the shelf back on and affix it using the screws provided in the package. Take note that you should use metal anchors if you’re mounting floating shelves onto plasterboard.


