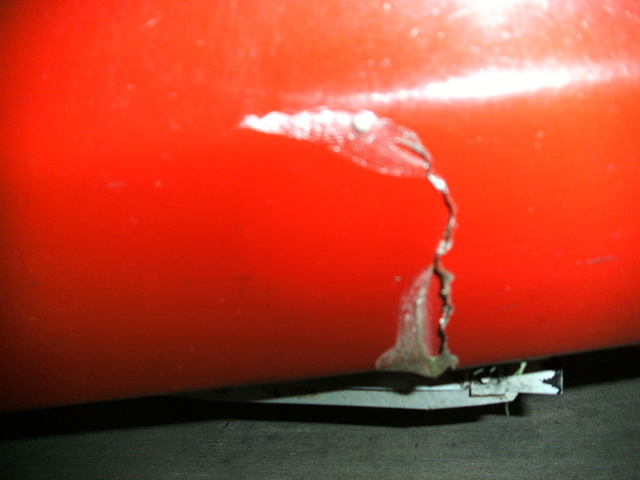
Repairing fiberglass cracks is no cakewalk. However you can learn the process and doing so will save you a trip to the body shop. You will need the following.
How to Fix Fiberglass Cracks
Required Tools and Materials
Fiberglass epoxy resin
Gel coat enamel
Sandpaper (400 and 240)
Rotary tool (equipped with a tungsten carbide cutter)
Plastic resin applicator
Step 1
Take a look at the crack and measure it. Scrutinize it well because it might go deeper than it seems.
Step 2
Get the rotary. Make the opening a bit wider so you can determine the crack dimensions. To avoid mistakes, position the utility at a 45 degree angle. Carefully create a small valley in the crack.
Step 3
To begin repairing fiberglass cracks, put some resin on the applicator. Set this on the crack. Put enough resin so it is filled up to the very edges. Allow the resin to dry as per manufacturer?s instructions.
Step 4
When the resin is dry, use the 240 sandpaper to sand the spot. Keep sanding until it becomes smooth. Apply the 400 wet sandpaper on the crack.
Step 5
The final step is to put some gel coat enamel on the fiberglass. You can use a sealer too, but make sure the color is the same as the fiberglass.
How to Fix Fiberglass Cracks on Cars
A lot of autos today have fiberglass components. If yours has one and it cracks, use the following steps for repairing fiberglass cracks in cars.
Required Tools and Materials
Spreading utility
Sandpaper (wet/dry 240 grit)
Epoxy resin
Dremel tool
Damp cloth
Dish soap
Sandpaper (wet/dry 400 grit)
Step 1
Start by cleaning the crack using water and soap. Rinse and let it dry.
Step 2
Put a cone shaped bit on your Dremel tool. Make it a tad bigger than the fiberglass fissure. Use this to expand the fiberglass a bit, just enough so you can see its depth. Take the damp cloth and
wipe the crack. Let it dry.
Step 3
Put fiberglass epoxy resin on the spreading tool. Apply this on the open crack. Add more until the crack is filled completely with resin. As you are repairing fiberglass cracks, try to keep the resin at par with the auto?s body. In other words, fill it until it is level to the car body. Remove any excess epoxy.
Step 4
Let the resin dry for four hours or whatever the package says. Get the 240 grit wet sand paper. Sand the repaired part until it gets smooth. Sand it again with the 400 grit wet sandpaper. Stop when the area is smooth.
Tips and Warnings
Use epoxy only if you are working in a well ventilated area. If you don?t like the smell of epoxy, put a face mask on. Do not tamper with the fiberglass until it has fully dried.
The process for repairing fiberglass cracks as described should work with most objects with the said material. As long as you apply the right amount, the glass should be as good as new.


