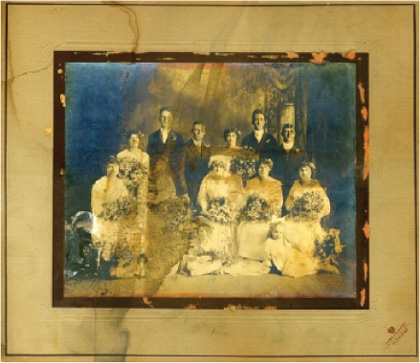
Pictures or photographs are very important because they capture certain memories and special moments. Once captured, these memories can last forever. However, several factors can inevitably affect the quality and clarity of these photos. These include changing weather conditions, wear and tear as well as contact with water and other forms of liquids. In order to solve such problems, it is good to learn how to repair water damaged pictures.
Materials Needed
For this challenging task, you need a number of simple yet important materials like freezer bags, a tub and clean water. Aside from these items, you also need to prepare plastic pins, a clothesline and blotting papers. In addition, be sure to have small weights and a humidifier. Once you have these things, you can start restoring the life and quality of water damaged photos.
Steps
After discovering water damaged photos, it is very important to act upon them right away in order to prevent further damage to the quality of these pictures. It is good to treat them right away after the initial contact with water because the damage is still minimal. Do not let the water dry out naturally or allow mold to grow on the photos because their effects are irreversible.
Before trying to save important pictures, always check first if they have copies. It is better to re-copy damaged photos because they have better quality and condition than the restored pictures. Get a small tub and then pour lukewarm water. After that, slowly put the pictures in the water. By doing this, loose debris and dirt will be removed easily.
Do not put the photos in direct contact with running water because this can actually damage the pictures even more. Get another small tub and then pour in some water once again. Submerged the pictures until you are about to freeze them. In case the photos are stuck together, do not separate them right away. Instead, allow them to loosen up from each other while submerged in the water.
Be careful when handling the photos. Try to hold them only on the edges. In case the pictures remain clumped together, do not separate them by yourself. It is better to seek the help of a conservationist to achieve the best result. Put every wet picture inside a freezer bag. This thing is important because it helps delay the onset of deterioration and damage on the pictures. Freeze the photos for no less than 24 hours.
Find a room that is well ventilated. Open the windows and then run the humidifier. Use the plastic pins to hang the photos on the clothesline. As an alternative, you can simply put each photo on top of a blotting paper and then leave to dry. Be sure to check the progress of your photos. In case the damage persists, seek the help of photo repair services to have the damaged photos repaired and electronically enhanced.


